
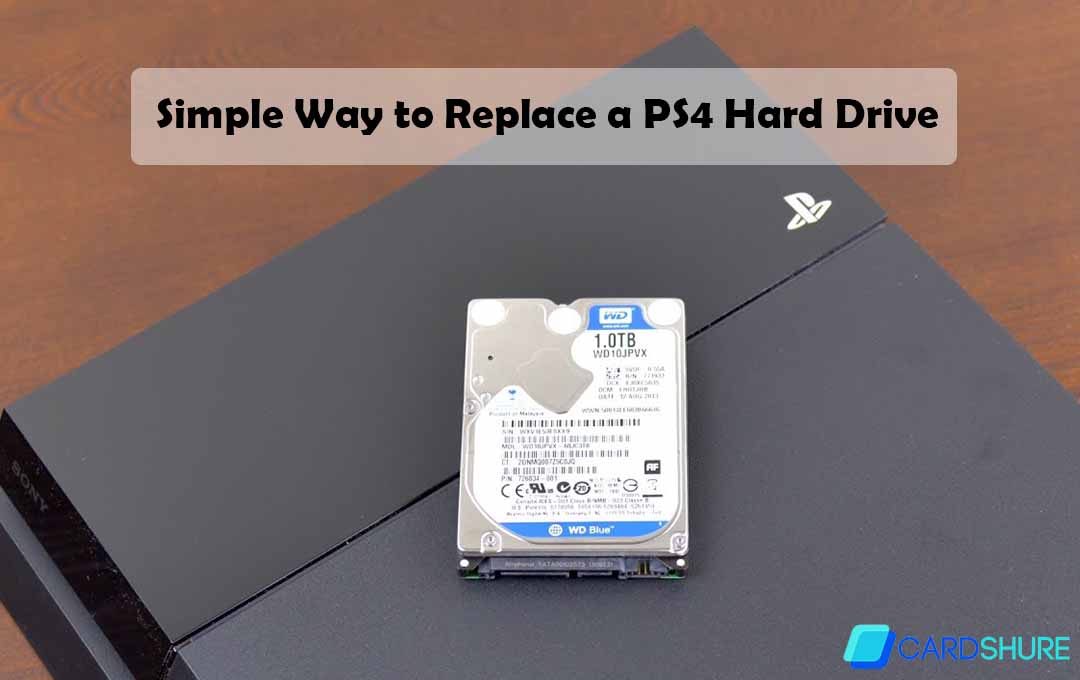
In this article, I will be giving you details on a Simple Way to Replace a PS4 Hard Drive. Upgrading it enables you to save more items and also make sure it runs at apex performance for a long time. You can upgrade or replace your hard drive without losing the game you saved.
What you Need
Below, I have listed the items you would need to Replace your PS4 Hard Drive, they are not much, so it should not give you a hard time getting them.
- Get a new hard drive
- Screwdriver
- External hard drive for backup.
- USB drive
How to Upgrade or Replace a PS4 Hard Drive
Firstly, you need to find a compatible drive. You can also install SSD, depending on what you want. To Upgrade Your HD, simply follow the guidelines below
Step 1 – Backup Your Data
Before you start this process, you can back up your files, so that you can get them back after replacing the drive. For games, you purchased from the Play Station Store you can always download them again without cost. Follow the steps below to backup your files with an external hard drive, by plug-in it into the PS4 USB port
- Go to the PS4 home menu
- Navigate and click on the “Settings” tab
- Tap on the “system” widget.
- Select the “backup and restore” button
- Click on The “backup PS4” tab
- The console will restart and the backup will start, as soon as you are done with the instructions
- After the backup, a copy of your files or data will be stored in the external drive
Step 2 – Download The Current PS4 Software Update
- Proceed to play station homepage
- Download the current update, by taping on “download update” and ensure that the data is to a USB drive
- Go to the drive and then create a folder named PS4
- In the folder, generate another folder with the name “update”
- Drag and drop the “PS4update.pup” into the update folder, and then remove the flash drive safely.
Step 3 – Open your PS4
- Unplug and switch off your PS4
- Place it on a flat surface
- Go to the back of the console to access the panel at the corners, it depends on the model of your PS4. This direction is for a newer model
- Softly slide the panel to the right to remove it, for earlier models, you will see the two panels on the PS, Locate and Press on the edge of the “glossy panel” to slide it to the left
- You can now access the HD
Step 4 – Replace the PS4 Hard Drive
- Find the screw surrounded by symbols
- Remove the screw with the screwdriver and then keep it safe.
- Unscrew to separate the HD from the casing, then pull out the old drive and replace it with the new one
- You can now start to put the screw and the panel back in the place
Step 5 – Setup Your New PS Hard Drive
You set it up by installing the software update and also restoring your game files.
Install the PS4 Software Update
- Use the USB cable to connect the PS controller to the console
- Click on the “PS” tab
- You will be prompted to insert the device with the software update into the console or other USB port
- Insert your USB drive
- Click on the “ok” tab, then on the next page, select the “yes” widget
- The system restarts immediately after the update is completed
Restore your Game data After replacing the PS4 Hard Drive
- Get the external drive you use to backup your files and then connect it to your PS
- On the homepage, click on the “Settings” widget
- Select the “system” tab
- Tap on the “backup and restore” button
- Press on the “restore PS4”
- From the list, select the files you backed up and follow the onscreen directives
- After restoring data, it will restart Automatically
This is everything you need to do in other to get your PS4 Hard Drive replaced.
More Related Content
- How Digital Marketing Works – About digital marketing
- AmBank World MasterCard – Benefits and Application at www.ambank.com.my
- How to Create A Website in Few Minutes
- Use your TV as a Display with Mac
- How to Change Screen Timeout on Mac